
It was February 13 I got my acceptance letter. I applied for my student visa which is called F1 visa. So this is the first condition getting an i20 for visa initerview application. today I’m going to share how to apply for a appoinment for US Embassy.
Step 1- Complete Your Application (DS 160 Form)
- Go to the Consular Electronic Application Center website.
- Log in to your account.
- Complete the security question.
- Start answering the questions.
- Upload DS-160 Form Photo.
- Submit the Form.
- Print DS-160 Barcode Page.
You will need to have the information listed below to complete the DS 160:
- Your SEVIS ID
- Your Passport
- Digital Image of yourself that meets these requirements
- Name and address of the camp you will be working at
- Travel itinerary (If you have already made travel arrangements.)
- Dates of your last five visits or trips to the United States.
My recommendation is to fill out the form but not submit it yet. Print all the pages and review them multiple times. You should submit the form 15-30 days before your interview. Remember, this form is crucial for obtaining your visa. In my opinion, 70% of your visa success depends on the DS-160 form, while the remaining 30% depends on your interview. If you encounter any difficulties, click here to watch a guideline video.
Step 2 – Locate the embassy closest to you!
Find out the nearest us embassy to you. If you are not sure about that Visit the U.S. Embassy’s website and select the country and the embassy nearest to you! for bangladeshi students it is US Embassy Dhaka. Once you locate the Embassy or Consulate near you, it’s important to thoroughly review all information on the specific Embassy or Consulate Visa Section website for local procedures and instructions, such as how to make an interview appointment.
Step 3 – Pay the application fee.
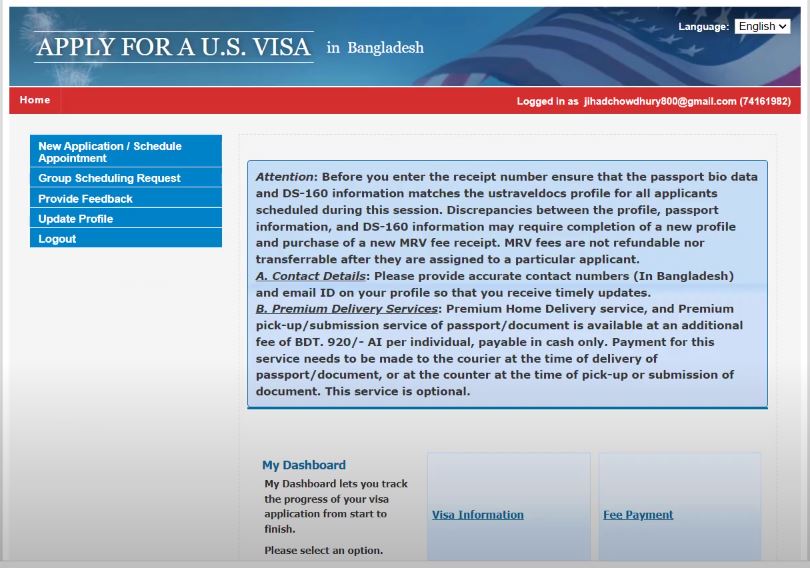
After identifying your nearest embassy, go to the U.S. Travel Docs portal and create a new user account. Click on “Continue New Application / Schedule Appointment” and follow the instructions. The process may vary by country. Once you’ve made your payment, you can schedule your appointment. You can save your progress and return later if needed. The visa appointment fee is $160 USD, which is non-refundable and separate from the sponsorship fees paid to InterExchange.
Step 5 – Attend Your Visa Interview
Finally, the day of your interview has arrived!
Make sure to bring your Online Nonimmigrant Visa Application (DS-160) confirmation page, which has your application ID number. The embassy will use this to find your application.Some embassies and consulates also require you to bring one photo that meets specific requirements. Check the instructions for the embassy or consulate where you will have your interview to find out more.During the interview, you need to show the consular officer that you have strong ties to your home country and plan to return there after your visit to the U.S. The exact type of evidence varies depending on your personal situation.
Here are some common questions asked by the visa officer during your interview. By studying these questions, you can perform better than others.
You should bring the following documents with you:
- Passport (valid for at least six months beyond your intended stay)
- Form I-20
- SEVIS Fee Receipt
- Appointment Date Papers
- DS 160 Form
- Passport-sized photos
- Proof of financial stability
Step 6 – Pick up your passport with visa
Processing times can differ. Contact the embassy or consulate where you applied to find out when and where to pick up your passport and visa.
You’re all set to travel! After your visa is approved, feel free to book your flights. Reach out if you have any questions about when, where, or how to arrive.
Best of luck and keep in touch. Looking forward to seeing you at camp!